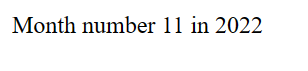
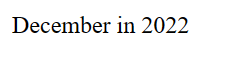
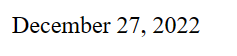
To get the current year in Vue.js, create a new Date object with the Date() constructor, then use the getFullYear() method to get the year of the Date. getFullYear() will return a number that represents the current year.
We use the Date() constructor to create a new Date object. When Date() is called with no arguments, the Date object is created using the current date and time.
The DategetFullYear() method returns a number that represents the year of the Date. Since the Date object here stores the current date, getFullYear() returns the current year.
Get current year with data property
We can also put the current year in a data variable instead of placing it directly in the template with the {{ }} symbols. This allows us to more easily reuse the value in multiple places in the template markup.
While you could get each component of the date using different functions, a much more flexible and easy way to do this is by formatting the date in the given format with a format specifier.
We can carry out this formatting with the format() function from the date-fns library.
In the following example, we use date-fnsformat() to get the multiple individual parts of the date.
App.vueCopied!
<template>
  <div>{{ dateString }}</div>
</template>

<script>
import { format } from 'date-fns';
export default {
  data() {
    return {
      dateString: format(
        new Date(),
        "EEEE, 'the' do 'of' LLLL, yyyy"
      ),
    };
  },
  computed() {
    return {};
  },
};
</script>
Different parts of the date are displayed using formatting.
The format() function takes a pattern and returns a formatted date string in the format specified by the pattern. You can find a list of the patterns format() accepts here.
For our example, we use the following patterns:
EEEE: to get the full name of the day of the week.
do: to get the ordinal day of the month, i.e., 1st, 2nd, 3rd, etc.
LLLL: to get the full name of the month of the year.
yyyy: to get the full year.
We also use single quotes to escape strings (the and of) that are not patterns but should be included in the result of the formatting.
The useEffect hook is called in a component after the first render and every time the component updates. By the timer useEffect is called, the real DOM would have been updated to reflect any state changes in the component.
Let’s take a look at a quick example to practically observe this behavior:
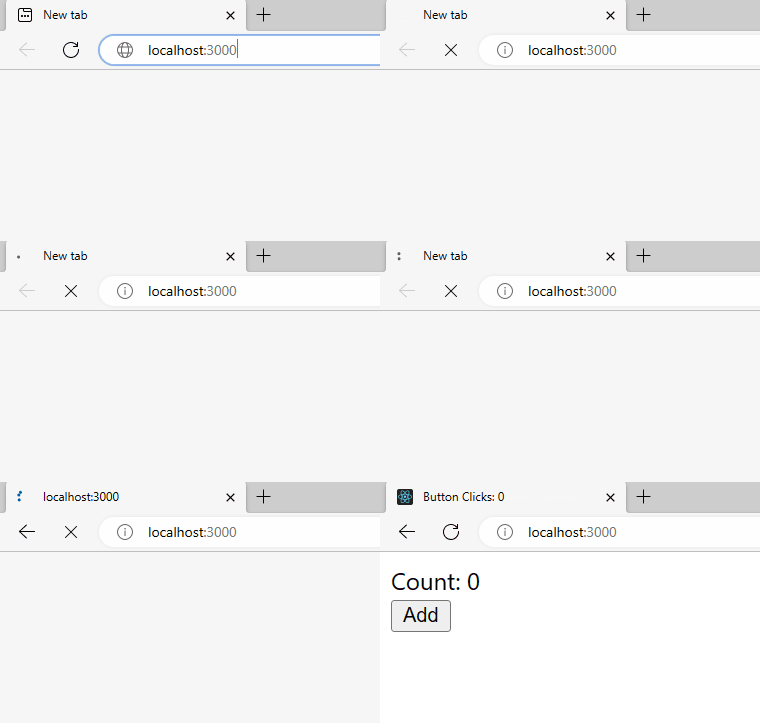
The first time the component renders from page loading, useEffect is called and uses the document.title property to set the page title to a string whose value depends on a count state variable.
The page title is changed from useEffect being called after the component is rendered.
If you watch closely, you’ll see that the page title was initially “Coding Beauty React Tutorial”, before the component was added to the DOM and the page title was changed from the useEffect call.
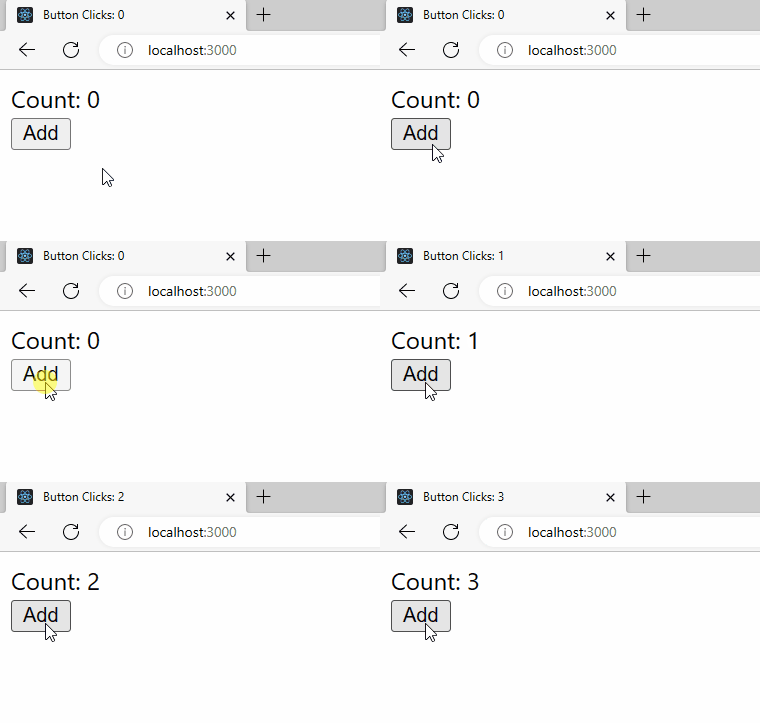
useEffect will also be called when the state is changed:
The page title is changed from useEffect being called after the component is updated.
As you might know, useEffect accepts an optional dependency array as its second argument. This array contains the state variables, props, and functions that it should watch for changes.
In our example, the dependency array contains only the count state variable, so useEffect will only be called when the count state changes.
useEffect called twice in React 18?
React 18 introduced a new development-only check to Strict Mode. This new check automatically unmounts and remounts a component when it mounts for the first time, and restores the previous state on the second mount.
Note: The check was added because of a new feature that will be added to React in the future. Learn more about it here.
This means that the first render causes useEffect to actually be called two times, instead of just once.
Here’s an example that lets us observe this new behavior.
It’s a basic time-counting app that implements the core logic that can be used to build timer and stopwatch apps.
We create an interval listener with setInterval() that increments a time state by 1 every second. The listener is in a useEffect that has an empty dependency array ([]), because we want it to be registered only when the component mounts.
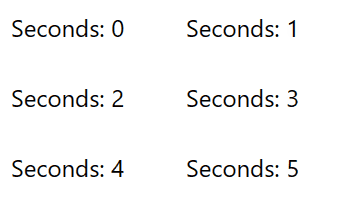
But watch what happens when we check out the result on the web page:
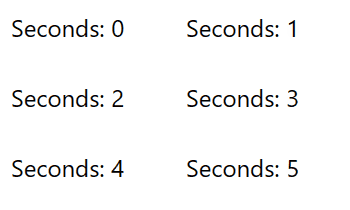
The seconds go up by 2 every second.
The seconds are going up by 2 every second instead of 1! Because React 18’s new check causes the component to be mounted twice, an useEffect is called accordingly.
We can fix this issue by unregistering the interval listener in the useEffect‘s cleanup function.
The cleanup function that the useEffect callback returns is called when the component is mounted. So when React 18 does the compulsory first unmounting, the first interval listener is unregistered with clearInterval(). When the second interval listener is registered on the second mount, it will be the only active listener, ensuring that the time state is incremented by the correct value of 1 every second.
The seconds go up by 1 every second – success.
Note that even if we didn’t have this issue of useEffect being called twice, we would still have to unregister the listener in the cleanup function, to prevent memory leaks after the component is removed from the DOM.
To handle the onScroll event on a Vue element, assign a function to the scroll event of the element and use the event object the function receives to perform an action. The action will occur whenever the user scrolls up or down on the page.
The function (event handler) passed to the scroll event is invoked whenever the viewport is scrolled. It is called with an event object, which you can use to perform actions and access information related to the scroll event.
The currentTarget property of this event object returns the element that the scroll listener was attached to.
We use the element’s scrollTop property to get how far the element’s scrollbar is from its topmost position. Then we update the state variable with the new value, and this reflects on the page.
Handle onScroll event on window object
We can also handle the onScroll event on the global window object, to perform an action when the viewport is scrolled.
type: a string representing the event type to listen for, e.g., 'click', 'keydown', 'scroll', etc.
listener: the function called when the event fires.
It also has some optional parameters, which you can learn more about here.
We call addEventListener() in the mounted hook to register the listener once the component renders as the page loads. mounted is only called for a component when it has been added to the DOM, so the listener will not be registered multiple times.
We also called the removeEventListener() method to unregister the event listener and prevent a memory leak. We place the call in the beforeUnmount hook so that it happens just before the component is removed from the DOM.
We create the boolean state with the useState hook. useState returns an array of two values, the first is the value of the state, the second is a function that updates the state when it is called.
We pass a callback function to setVisible because the callback is always passed the latest visible state.
Tip: Always pass a function to setState when the new state is computed from the current state data.
In our case, the callback simply negates the boolean value and returns the result to negate the state.
The logical NOT (!) operator converts a truthy value to false and a falsy value to true.
Note: In JavaScript there are only 6 falsy values: undefined, null, '' (empty string), NaN, 0, and false. Every other value is truthy and will result in false when negated.
Perform action on boolean state toggle
Sometimes you want to perform an action outside of re-rendering when the boolean state changes in the component, e.g., a network request. To carry out such an action, place the code in the useEffect hook and include the boolean state variable in useEffect‘s dependencies array.
The code in the useEffect hook runs after the component mounts or updates from a change in the visible state. Here, the state controls the visibility of an element, so in the hook, we check if the element is visible, and if so, we make a network request to a server to update view stats associated with the element.
Perform action on boolean state change but skip first render
Depending on your scenario, you might want the action to run when the component updates from a state change, but not it when it first mounts.
We can do this by creating a ref flag variable having an initial value of false in the first render, and change its value to true for all subsequent renders.
useRef returns a mutable ref object that doesn’t change value when a component is updated. Also, modifying the value of this object’s current property does not cause a re-render. This is in contrast to the setState update function returned from useState.
If the ref’s value is false, we prevent the action from happening in useEffect and change the value to true for the following renders. Otherwise, we execute the action.
In React apps, event listeners or observers perform certain actions when specific events occur. While it’s quite easy to create event listeners in React, there are common pitfalls you need to avoid to prevent confusing errors. These mistakes are made most often by beginners, but it’s not rare for them to be the reason for one of your debugging sessions as a reasonably experienced developer.
In this article, we’ll be exploring some of these common mistakes, and what you should do instead.
1. Accessing state variables without dealing with updates
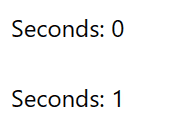
Take a look at this simple React app. It’s essentially a basic stopwatch app, counting up indefinitely from zero.
However, when we run this app, the results are not what we’d expect:
Stuck at 1
This happens because the time state variable being referred to by the setInterval() callback/closure refers to the stale state that was fresh at the time when the closure was defined.
The closure is only able to access the time variable in the first render (which had a value of 0) but can’t access the new time value in subsequent renders. JavaScript closure remembers the variables from the place where it was defined.
The issue is also due to the fact that the setInterval() closure is defined only once in the component.
The time variable from the first render will always have a value of 0, as React doesn’t mutate a state variable directly when setState is called, but instead creates a new variable containing the new state. So when the setInterval closure is called, it only ever updates the state to 1.
Here are some ways to avoid this mistake and prevent unexpected problems.
1. Pass function to setState
One way to avoid this error is by passing a callback to the state updater function (setState) instead of passing a value directly. React will ensure that the callback always receives the most recent state, avoiding the need to access state variables that might contain old state. It will set the state to the value the callback returns.
The time is increased by 1 every second – success.
Now the time state will be incremented by 1 every time the setInterval() callback runs, just like it’s supposed to.
2. Event listener re-registration
Another solution is to re-register the event listener with a new callback every time the state is changed, so the callback always accesses the fresh state from the enclosing scope.
We do this by passing the state variable to useEffect‘s dependencies array:
Every time the time state is changed, a new callback accessing the fresh state is registered with setInterval(). setTime() is called with the latest time state added to 1, which increments the state value.
2. Registering event handler multiple times
This is a mistake frequently made by developers new to React hooks and functional components. Without a basic understanding of the re-rendering process in React, you might try to register event listeners like this:
If you do have a basic understanding of this, you should be able to already guess what this will lead to on the web page.
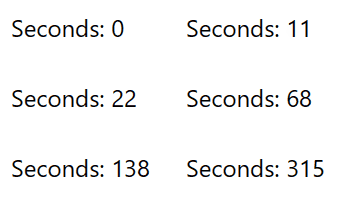
The seconds keep accelerating.It eventually gets as bad as this.
What’s happening?
What’s happening is that in a functional component, code outside hooks, and outside the returned JSX markup is executed every time the component re-renders.
Here’s a basic breakdown of what happens in a timeline:
1st render: listener 1 registered
1 second after listener 1 registration: time state updated, causing another re-render)
2nd render: listener 2 registered.
Listener 1 never got de-registered after the re-render, so…
1 second after last listener 1 call: state updated
3rd render: listener 3 registered.
Listener 2 never got de-registered after the re-render, so…
1 second after listener 2 registration: state updated
4th render: listener 4 registered.
1 second after last listener 1 call: state updated
5th render: listener 5 registered.
1 second after last listener 2 call: state updated
6th render: listener 6 registered.
Listener 3 never got de-registered after the re-render, so…
1 second after listener3 registration: state updated.
7th render: listener 7 registered…
Eventually, things spiral out of control as hundreds and then thousands (and then millions) of callbacks are created, each running at different times within the span of a second, incrementing the time by 1.
The fix for this is already in the first example in this article – put the event listener in the useEffect hook, and make sure to pass an empty dependencies array ([]) as the second argument.
useEffect runs after the first render and whenever any of the values in its dependencies array change, so passing an empty array makes it run only on the first render.
The time increases steadily, but by 2.
The time increases steadily now, but as you can see in the demo, it goes up by 2 seconds, instead of 1 second in our very first example. This is because in React 18 strict mode, all components mount, unmount, then mount again. so useEffect runs twice even with an empty dependencies array, creating two listeners that update the time by 1 every second.
We can fix this issue by turning off strict mode, but we’ll see a much better way to do so in the next section.
3. Not unregistering event handler on component unmount.
What happened here was a memory leak. We should have ensured that any created event listener is unregistered when the component unmounts. So when React 18 strict mode does the compulsory unmounting of the component, the first interval listener is unregistered before the second listener is registered when the component mounts again. Only the second listener will be left and the time will be updated correctly every second – by 1.
You can perform an action when the component unmounts by placing in the function useEffect optionally returns. So we use clearInterval to unregister the interval listener there.
useEffect‘s cleanup function runs after every re-render, not only when the component unmounts. This prevents memory leaks that happen when an observable prop changes value without the observers in the component unsubscribing from the previous observable value.
Conclusion
Creating event listeners in React is pretty straightforward, you just need to be aware of these caveats, so you avoid unexpected errors and frustrating debugging spells. Avoid accessing stale state variables, don’t register more event listeners than required, and always unregister the event listener when the component unmounts.
1. Only keep first object in array with property value
To filter duplicate objects from an array by a property in JavaScript, use the filter() method to filter out elements that are not the first in the array having the property value.
The Arrayfilter() tests each element in an array against a condition specified by a callback function, and creates a new array filled with elements that pass the test. It doesn’t modify the original array.
The ArrayfindIndex() method searches through elements in an array and returns the index of the first one that passes a test, specified by the callback function passed to it. We use it to find the first array element with the same property value as the object filter() is currently testing.
In our example, the filter() condition for the object is that its array index be the same as the result of findIndex(). If this condition is true, it will mean that the object is the first array element with the property value. If it’s false, it’ll mean that there’s already an array item with that property value, so the object is a duplicate and shouldn’t be included in the result.
JavaScriptCopied!
const arr = [
  {
    name: 'John',
    location: 'Los Angeles',
  },
  {
    name: 'Kate',
    location: 'New York',
  },
  {
    name: 'Mike',
    location: 'New York',
  },
];

// true - first object with location of New York
console.log(1 === arr.findIndex((obj) => obj.location === 'New York'));

// false - will not be included in result
console.log(2 === arr.findIndex((obj) => obj.location === 'New York'));
Filter duplicate objects from array by multiple properties
Depending on your scenario, you may want an object to be considered a duplicate only if it has two or more properties that have the same value – multiple property values that are the same.
For that case, we’ll use filter() and findIndex() as before, but we’ll add extra comparisons between filter()‘s object and findIndex()‘s object for all the properties.
We use the for...of loop to iterate over the array and perform an action for each object.
For each object, we use the find() method to check if it already exists in the unique array. Arrayfind() searches for the first object in an array that passes a specified test, similar to findIndex(), but it returns the object itself instead of its array index.
If it’s not in the unique array, we simply add it with the push() method.
This method is not a one-liner like the first one, but you may find it easier to understand. It seems like the natural way you would go about removing duplicate items from a list as a human.
Filter duplicate objects from array by multiple properties
Like in the previous method, if multiple properties are used to determine if an object is a duplicate, you can simply add more checks for the properties – this time in the find() method:
To round a number to 2 decimal places in JavaScript, call the toFixed() method on the number, i.e., num.toFixed(2). toFixed() will round and format the number to 2 decimal places.
The toFixed() method takes a number F and returns a string representation of a number with F number of digits after the decimal points. F here is determined by the first argument passed to toFixed(), the fractionDigits argument.
Sometimes the input might be stored as a string. In this case, we’ll first need to convert the number to a float with the parseFloat() function before using toFixed() to round it to 2 decimal places.
For example:
JavaScriptCopied!
const numStr = '17.23593';

// 👇 convert string to float with parseFloat()
const num = parseFloat(numStr);

const result = num.toFixed(2); // 17.24

console.log(result);
Not all decimal numbers can be represented precisely in binary, so there are some rounding errors in JavaScript’s floating-point number system. For example:
Like in the first one, here 1.015 is rounded down to 2 decimal places as 1.01 instead of 1.02, because 1.015 also can’t be represented accurately in the binary number system.
One of the most popular examples of this flaw is the classic 0.1 + 0.2:
We iterate over the elements in the list object with the forEach() method. This forEach() method works similarly to ArrayforEach().
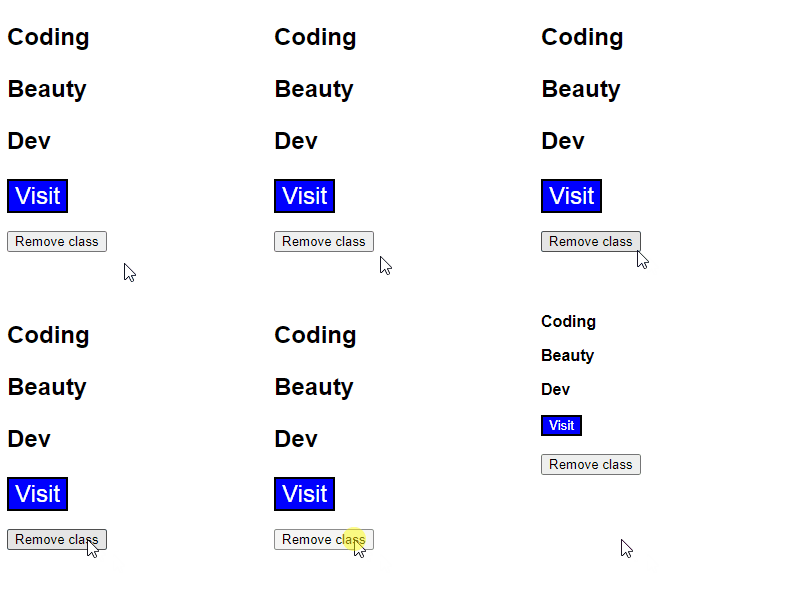
classList.remove() method
We use the classList.remove() method to remove a class from the elements. You can remove multiple classes by passing more arguments to remove().
JavaScriptCopied!
const elements = document.querySelectorAll('*');

elements.forEach((element) => {
  element.classList.remove('big', 'bold');
});
If any of the classes passed to remove() doesn’t exist on the element, remove() will ignore it, instead of throwing an error.
Remove class from all children elements of element
The previous example works for removing a class from every single element in the DOM. What if you want to remove all elements that are children of a specific DOM element, for instance, just children of the .container element in our example?
To do this, just prefix the * with the element’s selector and separate them with a space. I mean:
JavaScriptCopied!
// Remove class from all children elements of .container div
const elements = document.querySelectorAll('.container *');

elements.forEach((element) => {
  element.classList.remove('big');
});
Add class to all elements
Just like the classList.remove() method removes one or more classes from an element, the classList.add() method adds one or more classes to an element. This means that we can use it in the forEach() method to remove a class from all DOM elements:
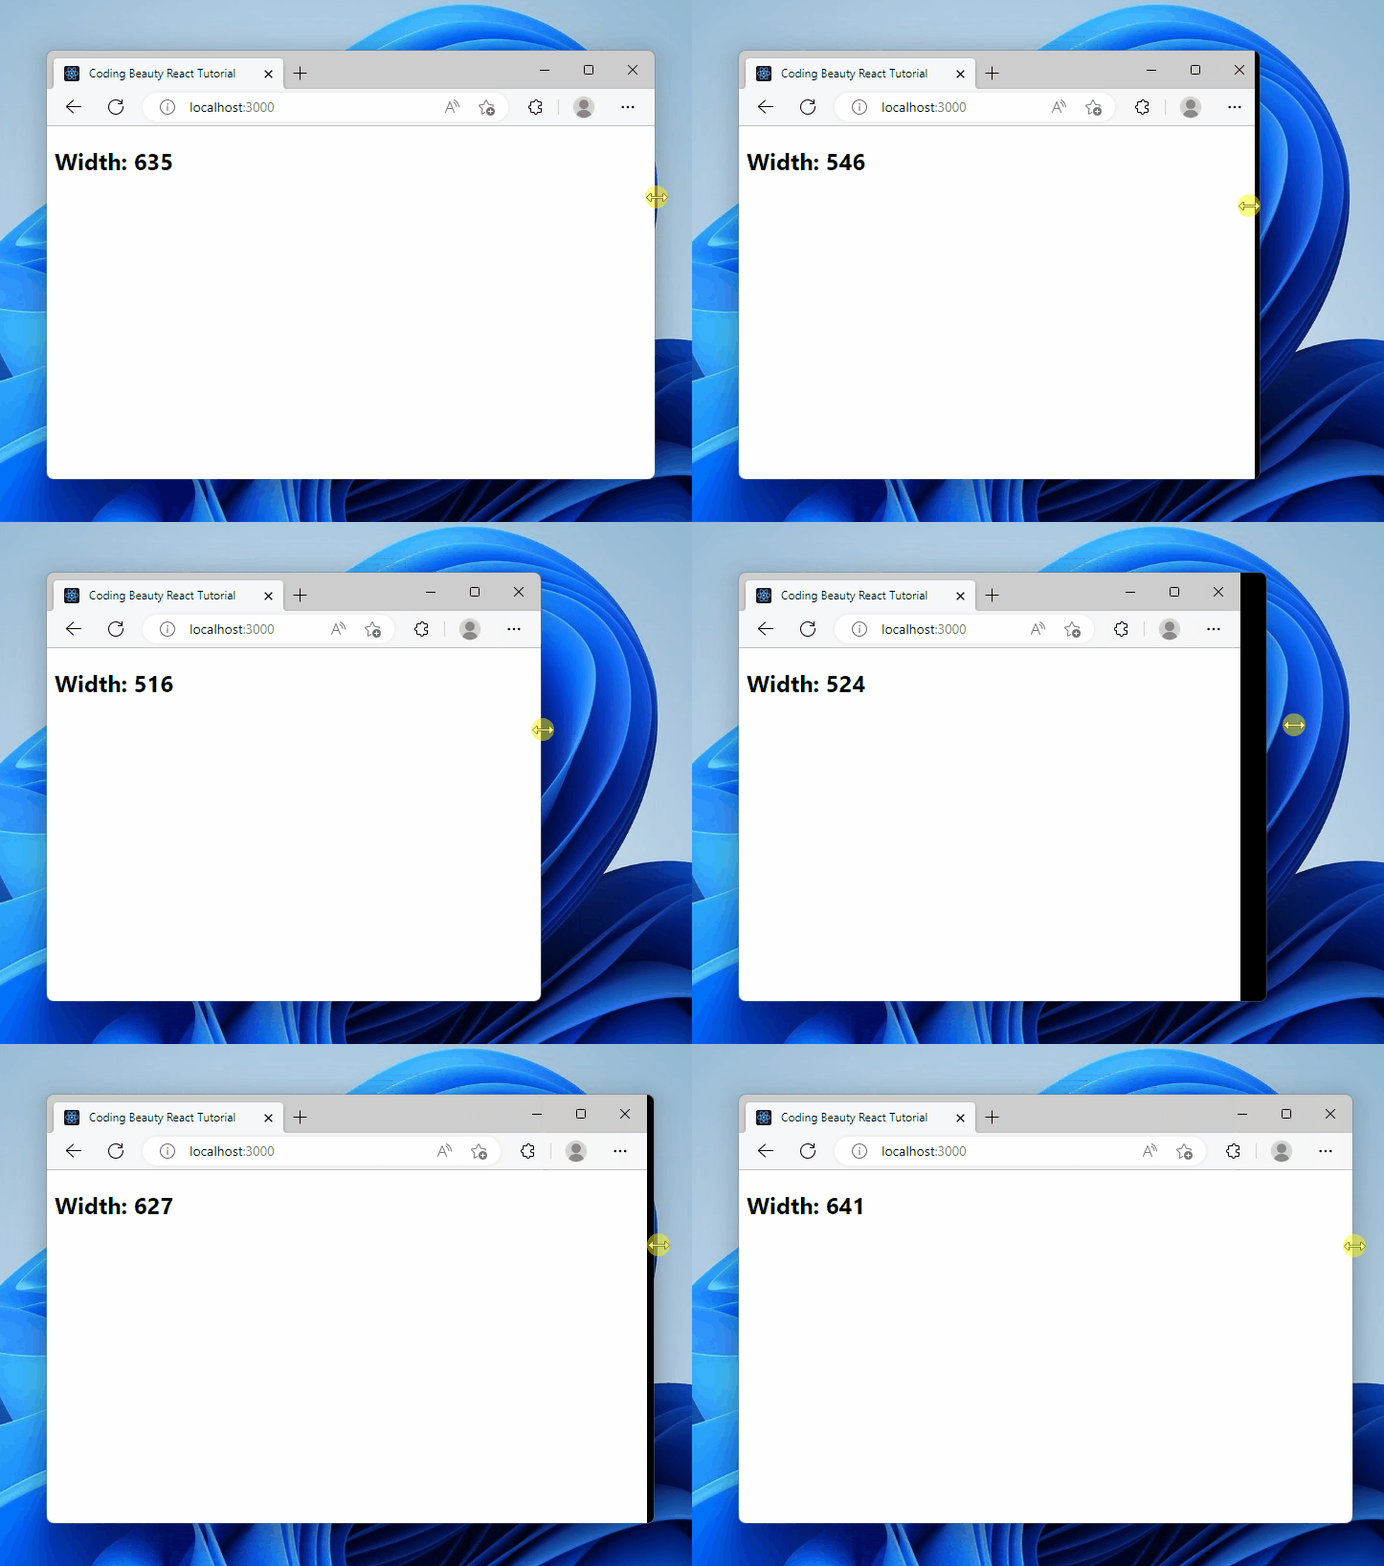
The get the width of the browser window on resize in React, add a resize event listener to the window object, then access the innerWidth property in the listener.
The text is updated with the width of the window when it is resized.
The innerWidth property returns the interior width of the window in pixels, including the width of the vertical scrollbar, if it is present.
The resize event is fired whenever the width or height of the window/document view changes.
We use the useState React hook to create a state variable that will update whenever the width of the window changes.
The useState hook returns an array of two values. The first is a variable that stores the state, and the second is a function that updates the state when it is called.
The useEffect hook is used to perform an action when a component first renders, and when one or more specified dependencies change. In our example, the action is to add the event listener for the resize hook with the addEventListener() method.
We pass an empty dependencies array to useEffect, so that it is called only once in the component’s lifetime, and the resize event listener is only registered once – when the component first renders.
In the resize event listener, we update the state variable with the new window width.
Note: useEffect‘s cleanup function runs after every re-render, not only when the component unmounts. This prevents memory leaks that happen when an observable prop changes value without the observers in the component unsubscribing from the previous observable value.
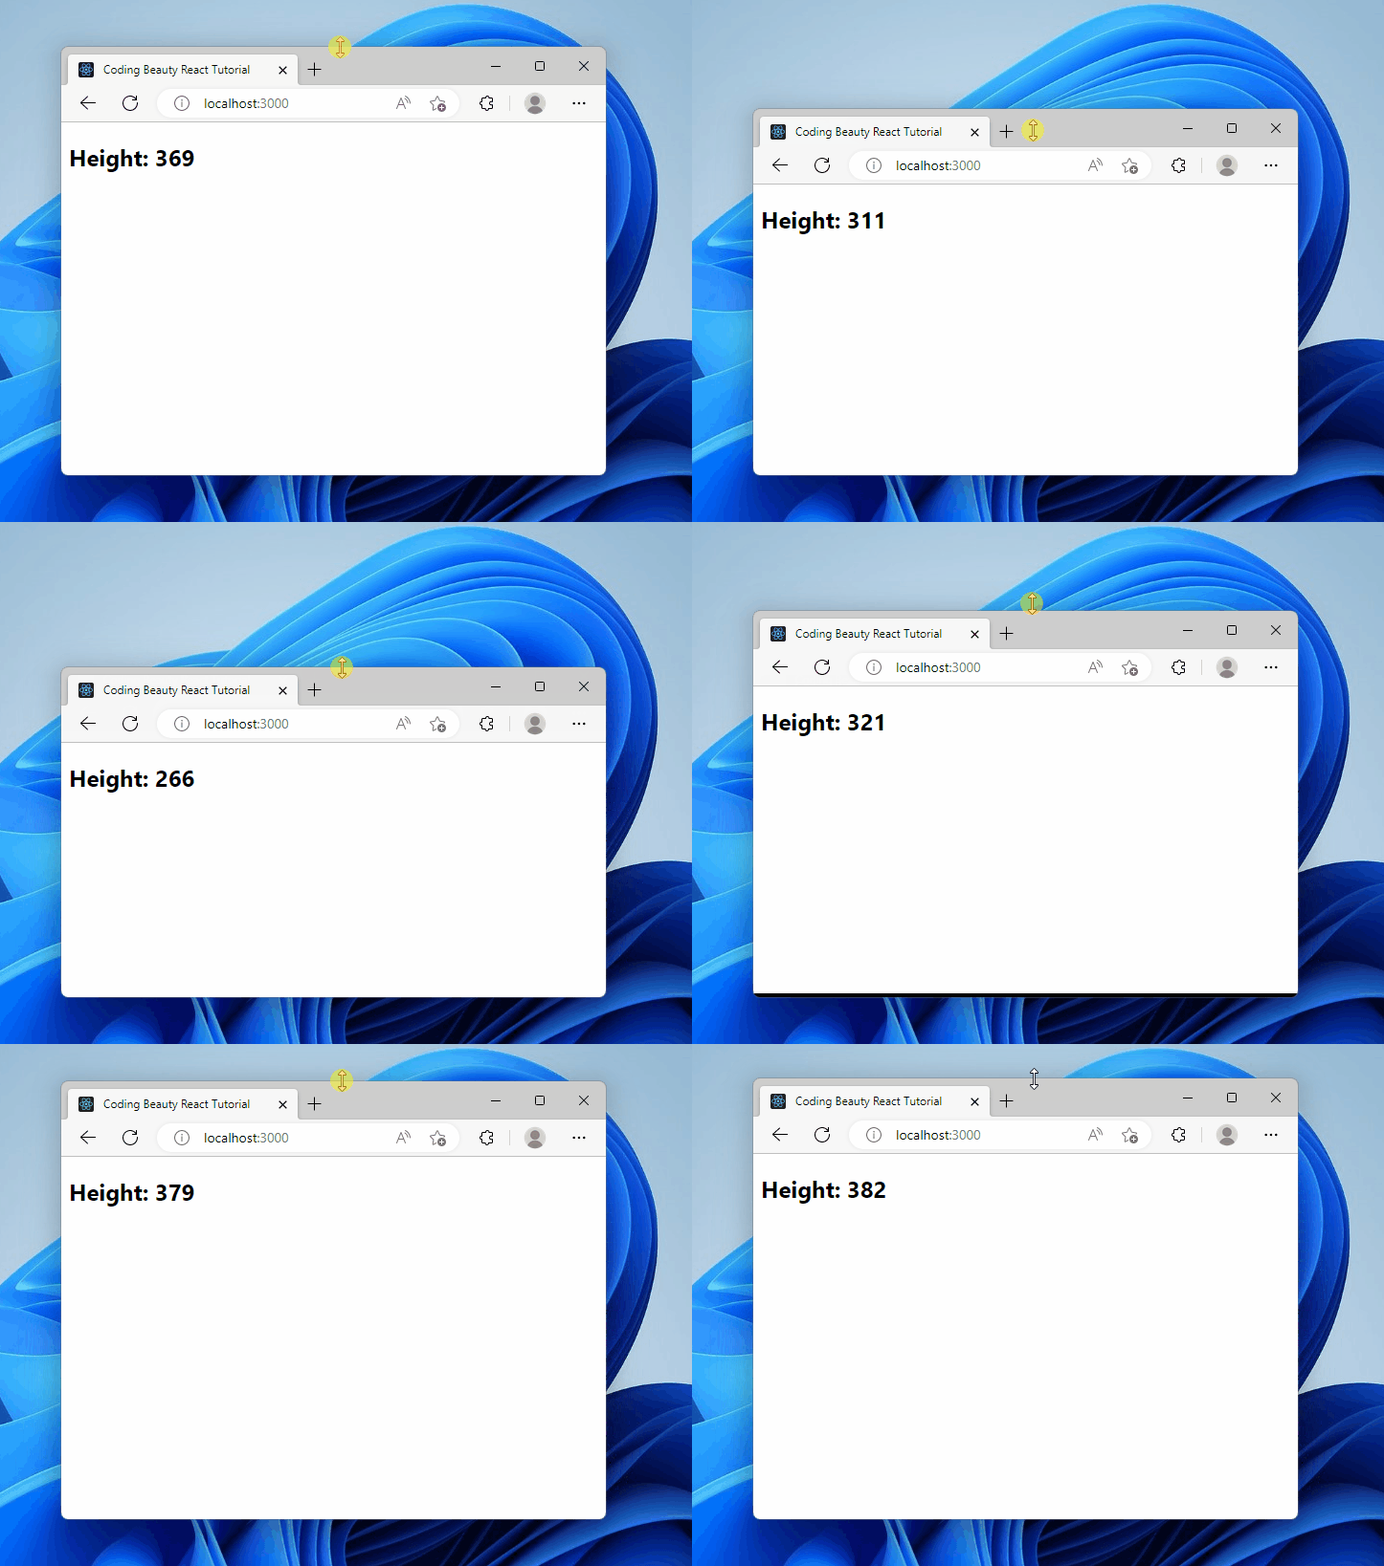
Get window height on resize
We can do a similar thing to get the window’s height on resize, but we’ll use the window object’s innerHeight property instead in the resize event listener:
Autosave has grown in popularity recently and become the default for many developers and teams, a must-have feature for various code editors. Apps like Visual Studio stubbornly refuse to fully provide the feature, and others make it optional. WebStorm, PHPStorm, and other JetBrains products have it enabled by default; for VSCode, you have to turn it on if you want it.
So obviously, we have two opposing views on the value of autosave because even though it can be highly beneficial, it has its downsides. In this article, we’ll look at both sides of the autosave divide, good causes for turning it off and good causes not to.
Why you should stop autosaving your code
First, some reasons to think twice before enabling autosave in your code editor:
1. Higher and wasted resource usage
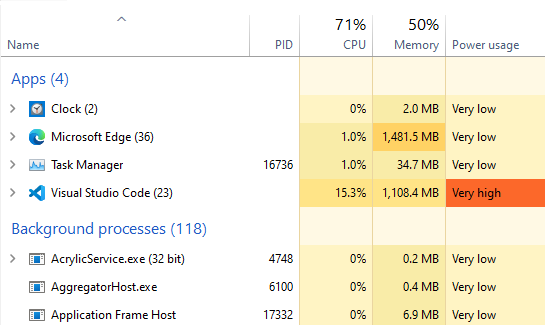
When using tools that perform an expensive action any time the file is changed and saved, like build watchers, continuous testing tools, FTP client file syncers, etc, turning on autosave will make these actions much more often. They will also happen when there are errors in the file, and when you make a tiny change. It might instead be preferable for these tools to run only when they need to; when you reach a point where you really want to see the results of your changes.
With greater CPU and memory usage comes lower battery usage and more heat from higher CPU temperature. Admittedly, this will continue to become less and less of an issue as computers increase in processing power, memory capacity, and battery life across the board. But depending on your particular situation, you might want to conserve these things as much as possible.
2. Harder to recover from unexpected errors
With autosave enabled, any single change you make to your code file is written to disk, whether these changes leave your file in a valid state or not. This makes it harder to recover from unwanted changes.
What if you make an unintended and possibly buggy change, maybe from temporarily trying something out, and then close the file accidentally or unknowingly (autosave makes this more likely to happen)? With your Undo history wiped out, it will be harder to recover the previous working version of the file. You might even forget how the code used to look before the change, and then have to expend some mental effort to take the code back to what it was.
Of course, using version control tools like Git and Mercurial significantly decrease the chances of this happening. Still, the previous working version of the file you would want to recover could be one with uncommitted changes, not available from version control, especially if you don’t commit very frequently or you have a commit scheduling determined by more than just the code working after small changes, e.g., committing when a mini milestone is reached, committing after every successful build, etc.
So if you want to continue enjoying the benefits of auto-save while minimizing the possibility of this issue occurring, it’s best if you always use source control and have a frequent commit schedule.
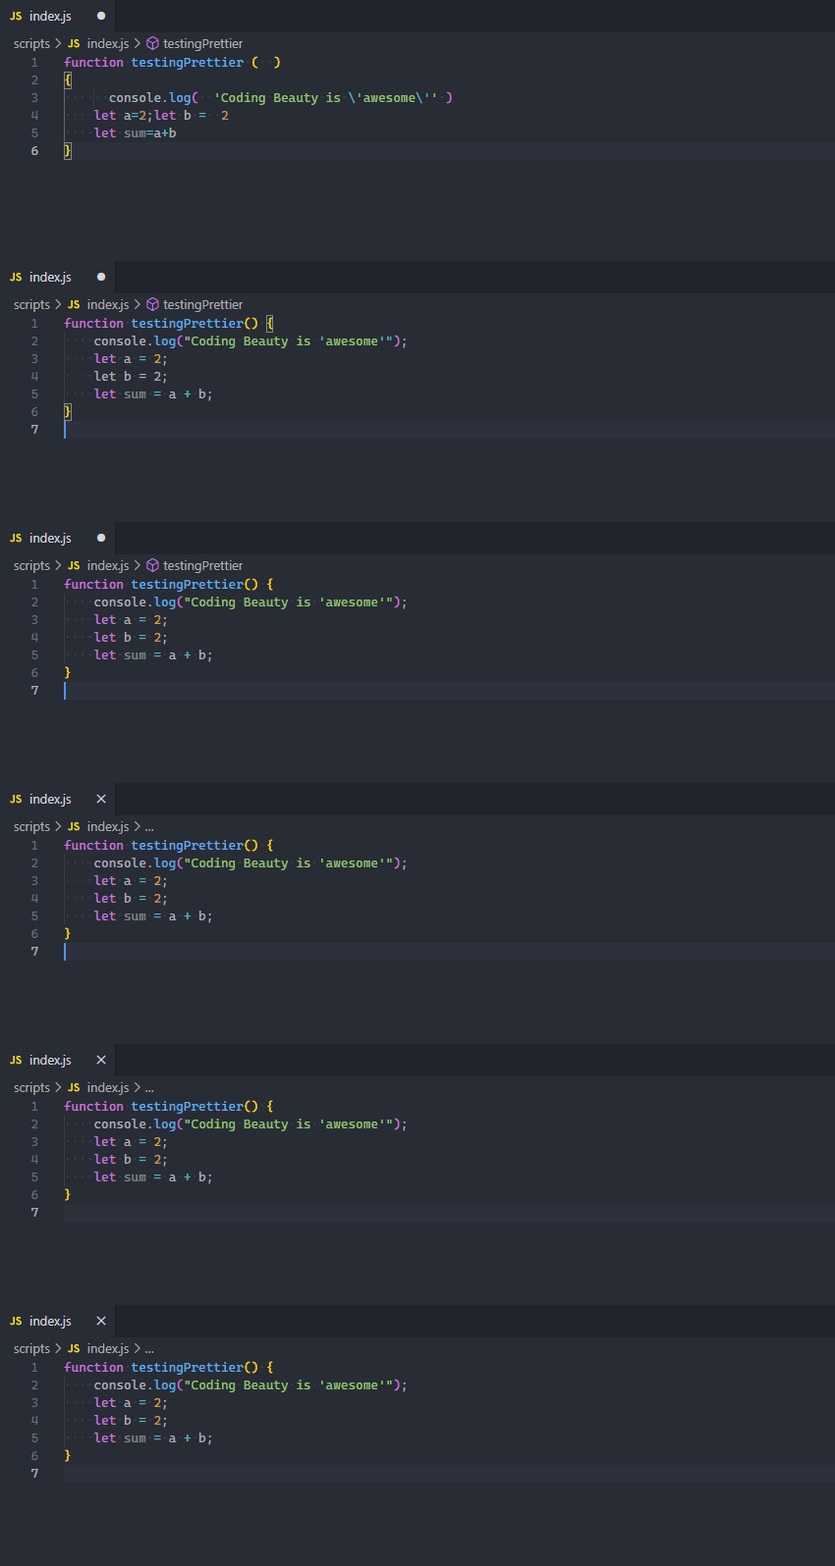
3. No auto-formatting on save
Many IDEs and text editors have a feature that automatically formats your code, so you can focus on the task at hand. For example, VSCode has built-in auto-formatting functionality, and also allows extensions to be written to provide more advanced or opinionated auto-formatters for various languages and file extensions.
These editors typically provide an option to format the file when it is saved. For manual saving, this makes sense, as usually you Ctrl/Cmd + S after making a small working change to a file and stop typing. This seems like a great point for formatting, so it’s a great idea to combine it with the saving action so there’s no need to think about it.
However, this feature isn’t very compatible with auto-save, and that’s why editors/IDEs like WebStorm and VSCode do not format your code for you on auto-save (you can still press Ctrl (Cmd) + S for it to happen, but isn’t one of the reasons for enabling auto-save to avoid this over-used keyboard shortcut?).
For one, it would probably be annoying for the cursor to change position due to auto-formatting as you’re typing. And then, there’s also the thing we already talked about earlier – the file won’t always be syntactically valid after an auto-save, and the auto-formatter will fail.
There is one way though, to have auto-formatting while still leaving auto save turned on, and that is enabling auto-formatting on commit. You can do this using Git pre-commit hooks provided by tools like Prettier and Husky.
Still only happens on commit though, so unless your code is not too messed up or you’re ready to format manually, you’ll have to endure the disorderliness until your next commit (or just press that Ctrl + S).
4. Can be distracting
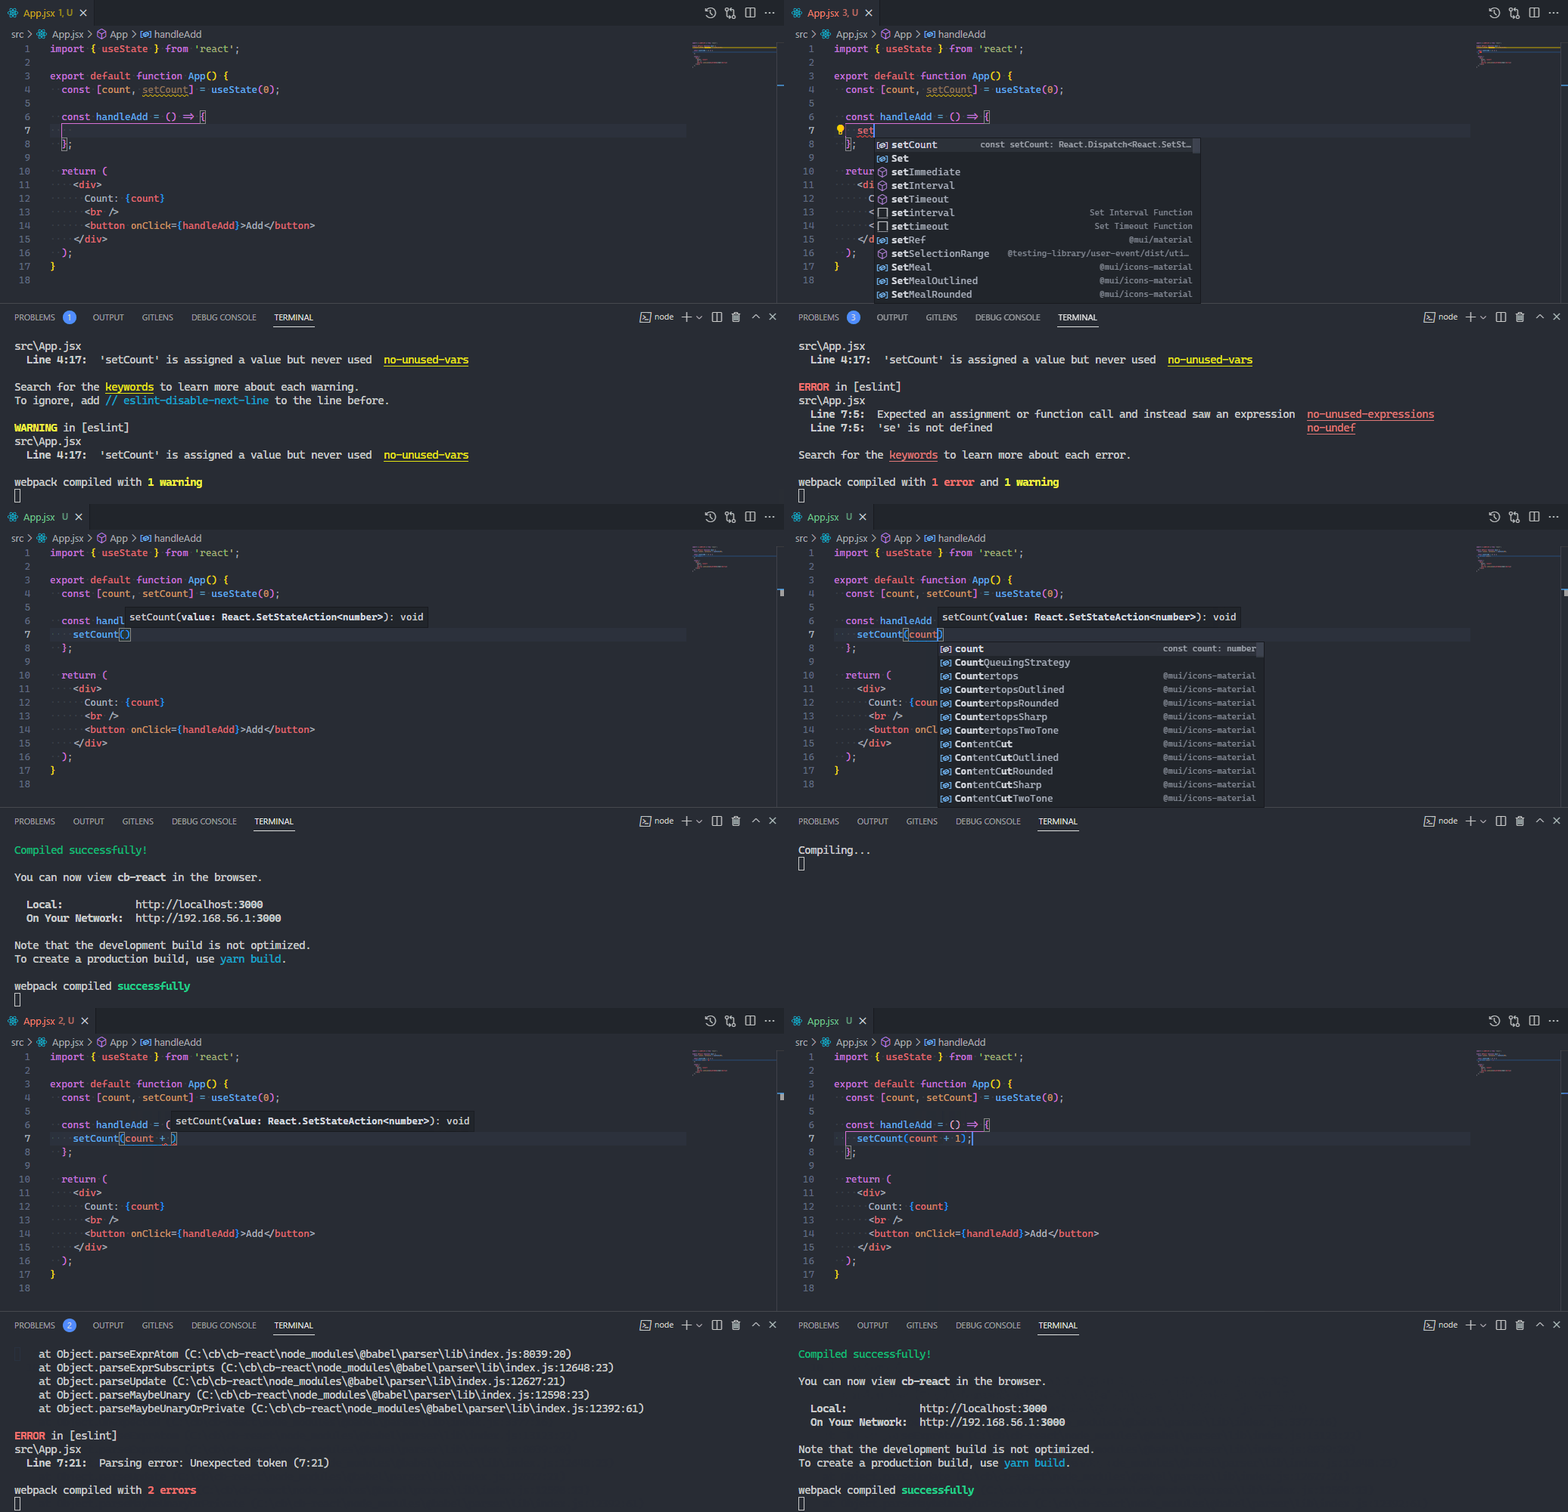
If you have a tool in your project that performs an action when files are saved and indicate this visually in your editor, i.e, a pop-up notification to indicate recompilation, output in the terminal to indicate rebuilding, etc. With auto-save turned on, it can be a bit distracting for these actions to occur whenever you stop typing for a little while.
For instance, in this demo, notice how the terminal output in VSCode changes wildly from typing in a small bunch of characters:
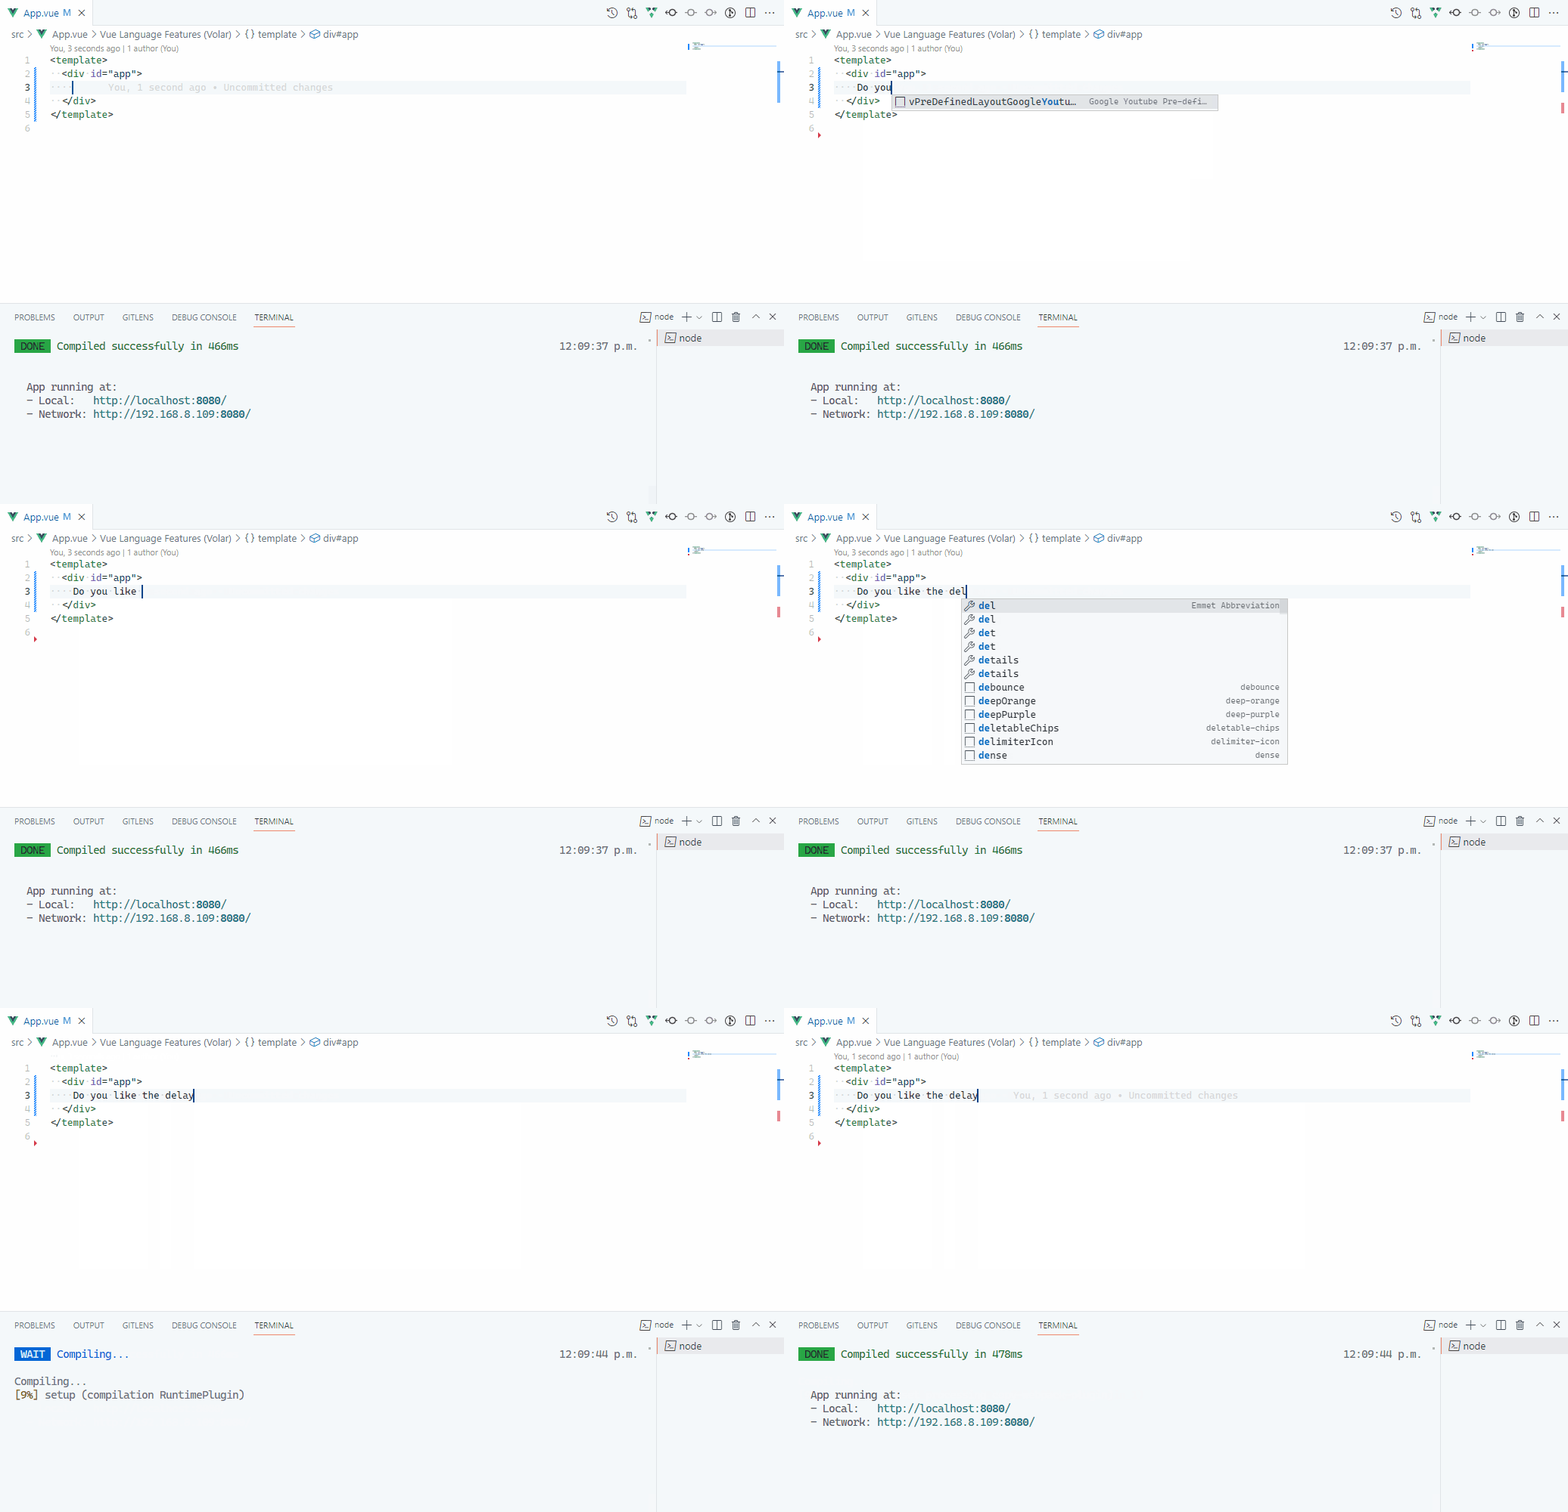
Text editors have tried to fix this problem (and the resource usage problem too) by adding autosave delays; waiting a certain period of time since the file was last changed before actually committing the changes to disk.
This reduces the frequency at which the save-triggering actions occur and solves the issue to an extent, but it’s a trade-off as lack of immediate saving produces another non-ideal situation.
5. Auto-save is not immediate
Having an auto-save delay means that your code file will not be saved immediately. This can lead to some problems:
Data loss
Probably the biggest motivator for enabling auto-save is to reduce the likelihood that you’ll lose all the hard work you’ve put into creating code should an unexpected event like a system crash or the forced closing of the application occur. The higher your auto-save delay, the greater the chance of this data loss happening.
VSCode takes this into account; when its auto-save delay is set to 2 or more seconds, it will show the unsaved file indicator for a recently modified file, and the unsaved changes warning dialog if you try to close the file until the delay completes.
On-save action lags
Tools that run on save like build watchers will be held back by the auto-save delay. With manual save, you know that hitting Ctrl + S will make the watcher re-build immediately, but with delayed auto-save, you’ll have to experience the lag between your finishing and the watcher reacting to changes. This could impact the responsiveness of your workflow.
Why you should autosave your code
The reasons above probably won’t be enough to convince many devs to disable autosave. It is a fantastic feature after all. And now let’s look at some of the reasons why it’s so great to have:
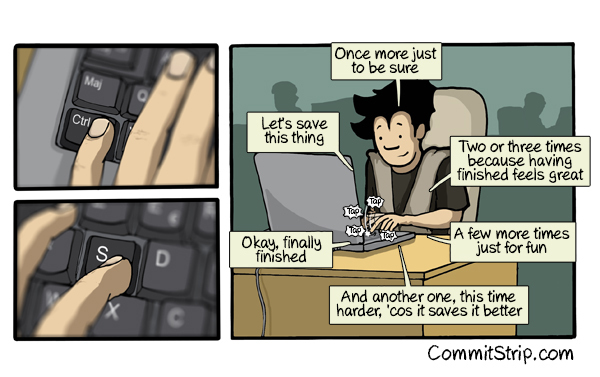
If you use manual save, you probably press this keyboard shortcut hundreds or even thousands of times in a working day. Auto-saving helps you avoid this entirely. Even if you’re very used to it now, once you get used to your files being autosaved, you’ll be hesitant to back to the days of carrying out the ever-present chore of Ctrl + S.
Eradicating the need for Ctrl + S might even lower your chances of suffering from repetitive strain injury, as you no longer have to move your wrists and fingers over and over to type the key combination.
The time you spend pressing the key combination to save a file might not seem like much, but it does add up over time. Turning auto-save on lets you use this time for more productive activities. Of course, if you just switched to auto-save, you’ll have to work on unlearning your Ctrl + S reflex for this to be a benefit to you.
3. Certainty of working with latest changes
Any good automation turns a chore into a background operation you no longer have to think about. This is what auto-save does to saving files; no longer are you unsure of whether you’re working with the most recent version of the file. Build watchers and other on-file-change tools automatically run after the file’s contents are modified, and display output associated with the latest file version.
4. Avoids errors due to file not being saved
This follows from the previous point. Debugging can be a tedious process and it’s not uncommon for developers to forget to save a file when tirelessly hunting for bugs. You probably don’t want to experience the frustration of scrutinizing your code, line after line, wondering how this particular bug can still exist after everything you’ve done.
You might think I’m exaggerating, but it might take up to 15 (20? 30??) minutes before you finally notice the unsaved file indicator. Especially if you’ve been trapped in a cycle of making small changes, saving, seeing the futility of your changes, making more small changes, saving… when you’re finally successful and pressing Ctrl + S is the only issue, you might just assume your change didn’t work, instead of checking for other possible reasons for the reoccurrence of the error.
5. Encourages smaller changes due to triggering errors faster
When a tool performs an action due to a file being saved, the new contents of the file might be invalid and trigger an error. For example, a test case might fail when a continuous testing tool re-runs or there might be a syntax error when a build watcher re-builds.
Since this type of on-file-change action occur more (possibly much more) when files are auto-saved when you type code that causes an error, it will take a shorter time for the action to happen and for you to be notified of the error. You would have made a smaller amount of code changes, which will make it easier to identify the source of the error.
Conclusion
Autosave is an amazing feature with the potential to significantly improve your quality of life as a developer when used properly. Still, it’s not without its disadvantages, and as we saw in this article, enabling or disabling it is a trade-off to live with. Choose auto-format on save and lower CPU usage, or choose to banish Ctrl + S forever and gain the certainty of working with up-to-date files.
What are your views concerning the autosave debate? Please let me know in the comments!